How to install a WordPress theme?

Today I will teach you how to install a purchased theme on your WordPress.

On themeforest, theme installation offered by support team usually costs US$50! I would say it’s a rip-off once you’ve learnt how to do it from this article.

Here we go 🙂

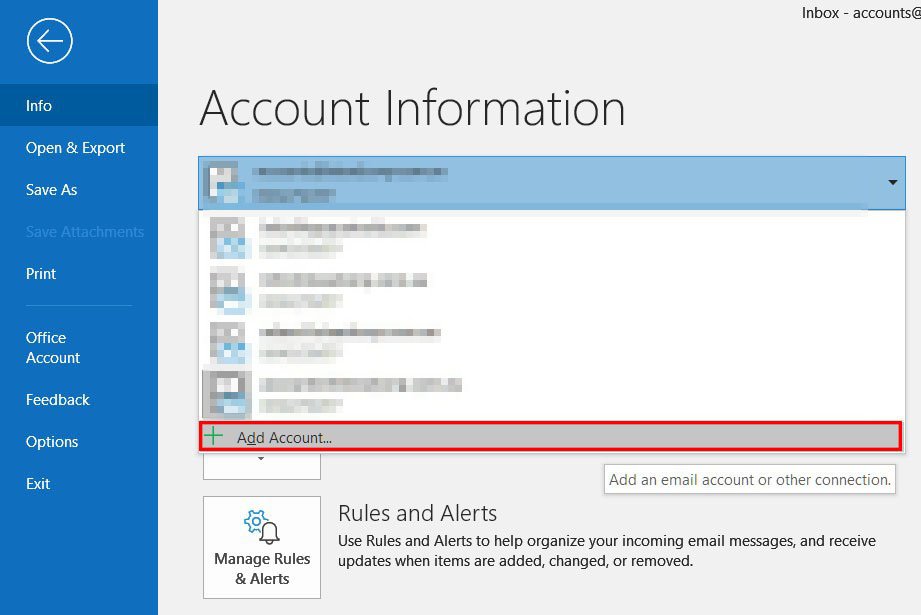
STEP 1 – Open up your localhost directory to your website, or, navigate to http://yourdomain.com/wp-admin.

STEP 2 – Login to your account. STEP 3 – On the left side bar of your WP admin panel, choose Apperance -> Themes -> Add New -> Upload Theme.

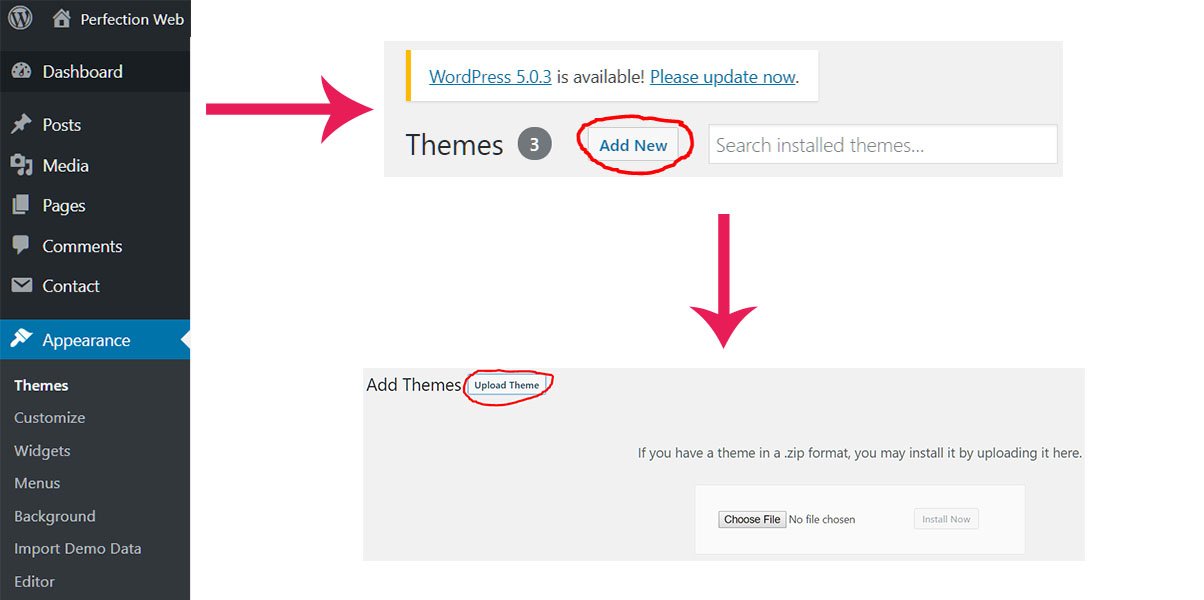
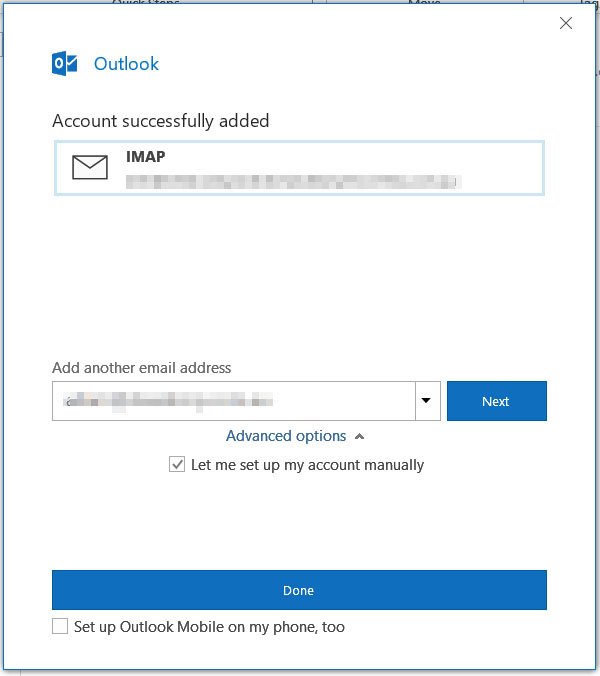
STEP 4 – A common error that a beginner would have made is directly dragging in the whole .zip file he just downloaded. That is wrong! You need to unzip the file, and find the actual theme.zip file along with other Documentation, Licensing, Resources folders under the same directory under the root directory.

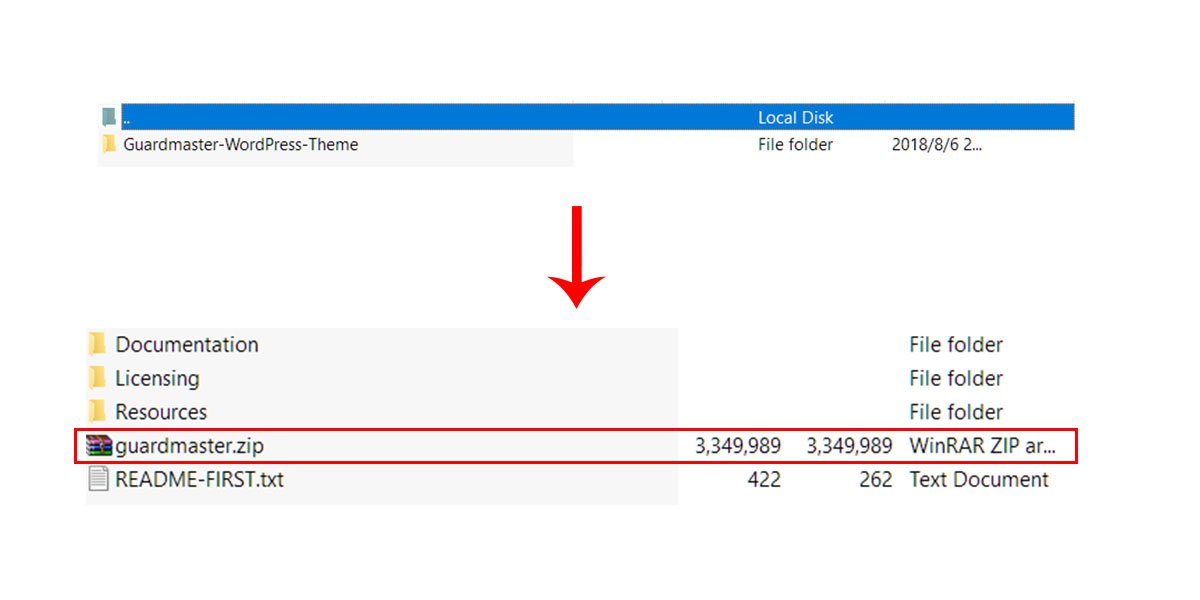
STEP 5 – Drag the .zip file above onto the upload section, wait for few seconds and you are done installing the theme!

Notes: Sometimes the file size is exceeding over the max uploading size. The most effective way is to alter your .htaccess file, paste the following code into your .htaccess file:

php_value upload_max_filesize 512M
php_value post_max_size 512M
php_value max_execution_time 300
php_value max_input_time 300

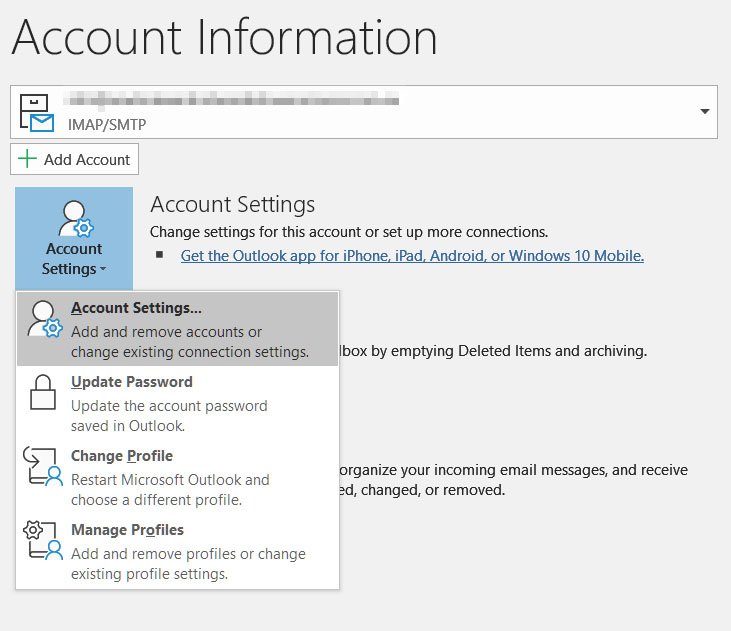
STEP 6 – Go to Apperance -> Themes again, you will see your theme thumbnail is right there! Click Theme Details -> install Plugins.

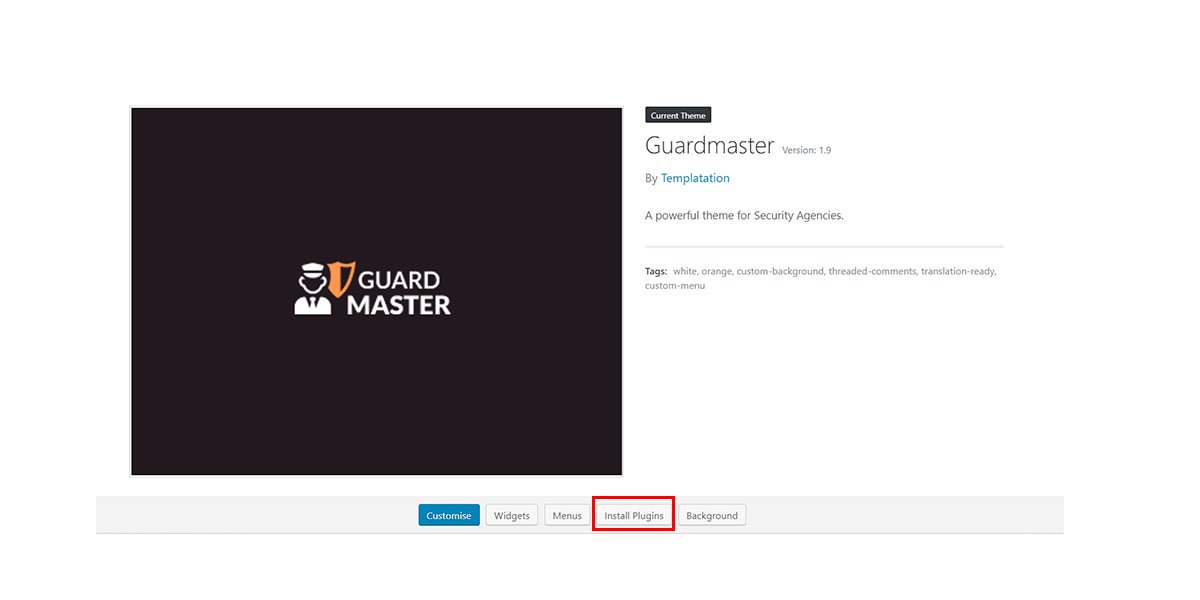
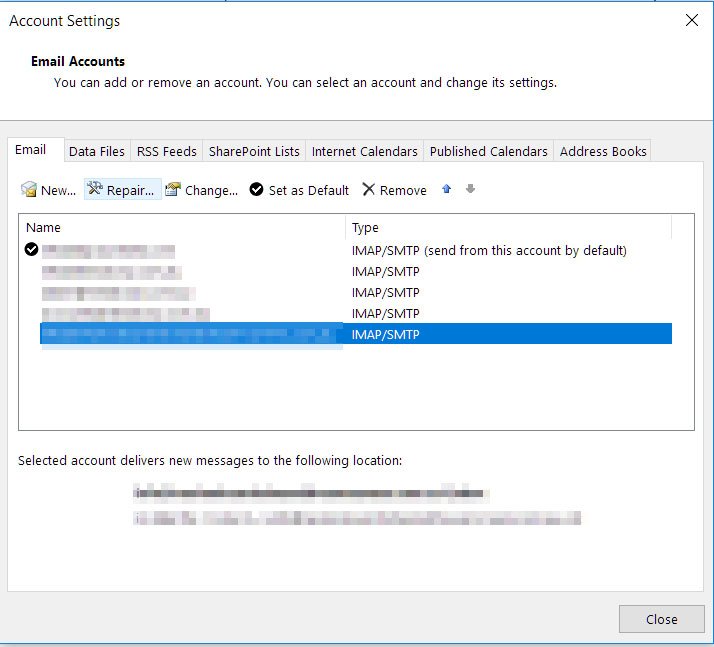
STEP 7 – After installing the plugins, most templates import demo with One Click Demo Import plugin. You can find the import button among those buttons in the above picture. However, there are some other templates having import demo button configured in their own theme function. You can usually find a stand-alone Theme Options section in your admin panel, or somewhere within apperance -> theme settings. I hope this tutorial can save you 50 bucks 🙂 If you have more questions, feel free to leave a message in perfectionwebsydney@gmail.com. I will answer you ASAP. Thanks for reading.

How to Connect Hosting Email On Outlook Office365 (Destop)?

If you have a hosting email, say info@yourdomain.com.au, how do you send/receive from this email account on Outlook Office 365?

I will divide the guide into two sections, one is teaching you how to configure Outlook Office 365 on your desktop/laptop and the other is teaching you how to conifgure Outlook Office 365 on your mobile device.

I promise this isn’t so hard as you thought and it’s only going to take you around 10 minutes.

Connect Hosting Email On Outlook Office365 (Desktop version)

Step 1: Open your outlook office365 application.

Step 2: Go to File Tab (shown as following) on the top of the navigation bar.

how-to-connect-hosting-email-on-outlook

Step 3: Click the selection box under the title ‘Account Information’ and select ‘+ Add Account’.

Step 4: Copy & paste info@ email address into the box. Click Advanced Option and tick the box let me set up my account manually.

Step 5: Choose option IMAP.

Step 6: Type in email account password, Enter.

Step 7: Now You should be seeing this interface, click Done.

Step 8: Now navigate to File Tab again on the top and go to Account Settings -> Account Settings under Account Information.

Step 9: Select your email address and choose Repair.

Step 10: Choose Advanced options -> Let me repair my account manually

Step 11: Leave incoming mail settings as it should be.

Step 12:  Modify outgoing mail settings as following:

Toggle on Logon using username & password and input the same username&password you’ve been using in this tutorial.

Click Next.

Done!

Connect Hosting Email On Outlook Office365 (Mobile version)

To be continued…

How to Connect Hosting Email On Outlook Office365 (Mobile)?

Connect Hosting Email On Outlook Office365 (Mobile version)

Step 1: Download outlook app from your app store and get everything ready.

Step 2: If you already have the app and been using it on your phone.

Step 3: Then tap three-line symbol on the top left corner

Step 4: You are on your left-side bar area, tap the settings icon on the bottom left corner.

Step 5: Under Accounts Section, choose + ADD ACCOUNT -> Add an email account.

Step 6: You can choose to add the accounts recorded on your mobile or untick all of them and choose skip at the bottom right side.

Step 7: In Add Account section, type in your email address, Enter.

Step 8: Fill in password and fill in the other information at your choice.

Display Name is the name shows when user receives your email.

Description is the name visible to yourself shows on the admin panel.

Step 9: Toggle on ADVANCED SETTINGS at the bottom.

Change all the usernames from info@steadcorp.com.au to your email address

Input all the password.

Change the rest of fields corresponding to your hosting service.

Tap the tick on the top right corner.

Step 10: Congratulations! All Done! If Attempt to Login phase failed, please be more careful when you fill in all the fields, there is no mistake allowed.